- Published on
S3 in Snowflake
Overview
Sometimes, you need to run in a fast way on Spark. Maybe you want to conduct some quick tests, so let's see it.
Requirements
You must have the following installed on your system:
- Snowflake account
- S3 private bucket with data
- Data airports csv from kagle
Step 1, upload the data to S3 bucket
Step 2, create a policy to S3
Attach to the created role a policy to get control to Snowflake over the bucket:
{
    "Version": "2012-10-17",
    "Statement": [
        {
            "Sid": "PublicRead2",
            "Effect": "Allow",
            "Action": [
                "s3:GetObject",
                "s3:GetObjectVersion",
                "s3:PutObject",
                "s3:DeleteObject",
                "s3:DeleteObjectVersion"
            ],
            "Resource": "arn:aws:s3:::your-bucket/*"
        },
        {
            "Effect": "Allow",
            "Action": "s3:ListBucket",
            "Resource": "arn:aws:s3:::your-bucket",
            "Condition": {
                "StringLike": {
                    "s3:prefix": [
                        "*"
                    ]
                }
            }
        }
    ]
}
Step 3, Runnig WorkSheet in Snowflake
Step 4, create a Trust relationships
Run the SQL query to get some params:
desc integration Snow_OBJ_IMARCKDEV_2023
In the created, in the section Trus relationships add this:
{
    "Version": "2012-10-17",
    "Statement": [
        {
            "Effect": "Allow",
            "Principal": {
                "AWS": "<STORAGE_AWS_IAM_USER_ARN>"
            },
            "Action": "sts:AssumeRole",
            "Condition": {
                "StringEquals": {
                    "sts:ExternalId": "<STORAGE_AWS_EXTERNAL_ID>"
                }
            }
        }
    ]
}
Step 5, copy the data to Snowflake
Step 6, make some querys
Just run the following command in your terminal to run on port 8888:
docker run -it --rm -p 8888:8888 jupyter/pyspark-notebook
Docker will download all related repositories.
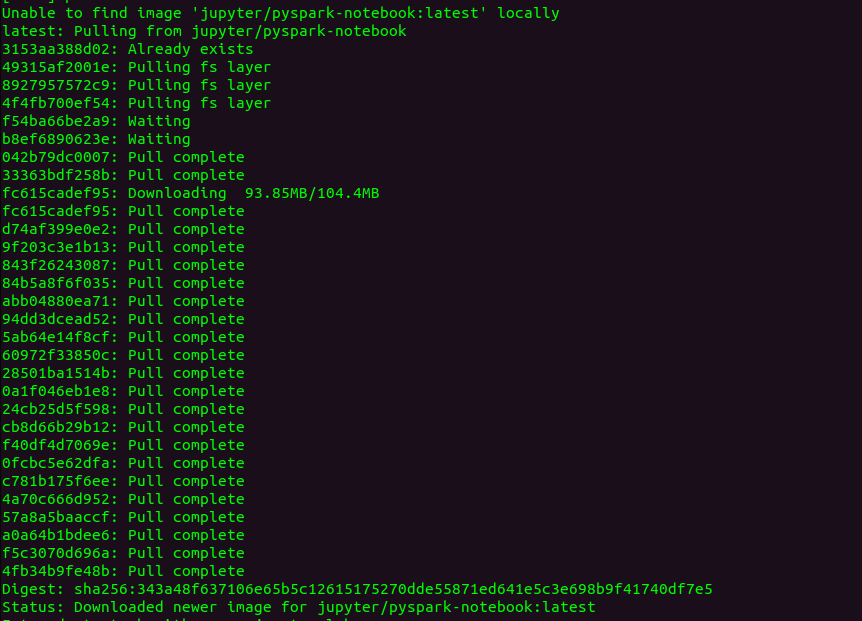
After running the command, you will see some URLs in the terminal. Test one of them to open your Jupyter Notebook in your browser.

In the Jupyter Notebook
Well now in you notebook just open a new one, and install findspark:
!pip install findspark
And go ahead with the Spark journey!
import findspark

findspark.init()

from pyspark.sql import SparkSession

spark = (
    SparkSession.builder.config('spark.serializer', 'org.apache.spark.serializer.KryoSerializer')
    .config('spark.sql.hive.convertMetastoreParquet', 'false').config("spark.sql.shuffle.partitions", "2001").config("spark.driver.maxResultSize", "4g").config("spark.driver.memory","10g").getOrCreate()
)
print(spark)
This will give you a response like:
<pyspark.sql.session.SparkSession object at 0x7fbe3f6357d0>
Reading data
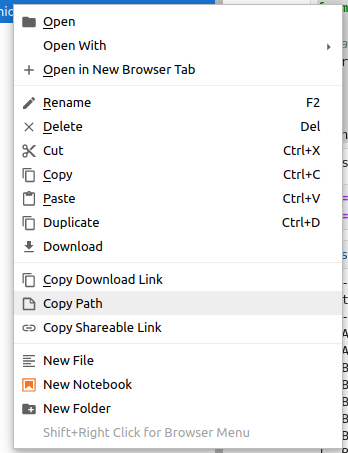
So, this container allows you to upload your data to read them. Just load the files or folders, then left-click and copy the path to read them in your code, like this:
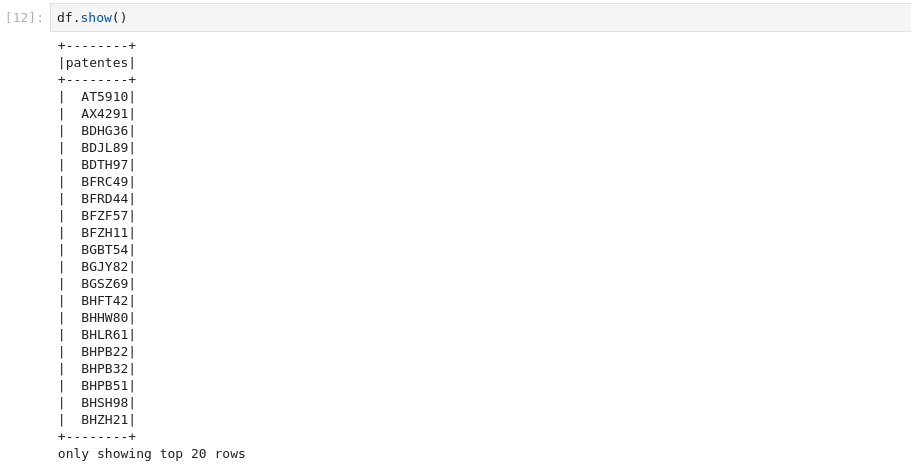
df = spark.read.option("delimiter", ",").option("header",True).csv(f"loaded_file.csv")
df.show()
Stop the container at the end
At the end, you can stop the Docker container or remove the image if necessary.
In a terminal, list the containers that were running by using the following command, and then copy the ID:
docker ps
To stop the container with the ID, replace <ID> with the actual ID of your container.
docker stop <ID>